오비터 익스가 녹고 모터가 고장 난 후 모터 재구매를 고민하고 있었습니다.
그러던 중 다른 블로그에서 본 BMG + 보우덴 방식이 생각났습니다.
오비터 익스트루더를 장착하려던 이유 중 하나가 헤드 경량화였기 때문에 한번 시도해보고자 했습니다.
우선 모터를 z 축 프로파일에 고정시킬 방법이 있어야 했는데 아래 모델이 좋아 보이더군요.
www.thingiverse.com/thing:3143102/files
Ender-3 Y Axis Stepper Mount for Damper by keithluneau
When adding a damper to the Y axis stepper motor, the X-shaped plate under the bed hits the motor before the limit witch is reached. The solutions I found were to either move the limit switch, which costs some build volume and make the nozzle home over the
www.thingiverse.com

위와 같이 모터 고정 부분만 살짝 수정해 줬습니다.

딱 맞습니다! 이대로 BMG를 연결하고, 이제 펌웨어를 만져 줍니다.
펌웨어 수정하면서 익스 캘리도 진행했는데, 100mm extrude 명령에 66.97 정도 나오네요 ;;
위 값과, BMG 익스트루더 기어비 3 : 1을 반영하면 다음과 같습니다.
e step_per_unit = (200 x 16) *(3/1)/ (11x 3.14159) = 277.7980
full_steps_per_rotation = 100 /66.97 *277.7980 = 414.81
rotaion_distance = 200 * 16/ 414.81 = 7.71
**참고로 저는 tmc 2209를 사용 중이라 microstep값이 16입니다.
순정이신 분들은 tmc2225 일테니 microstep을 32로 변경해야 합니다.
반영하여 printer.cfg를 수정해 줍니다.
[extruder]
step_pin: PD6
dir_pin: !PD3
enable_pin: !PB3
rotation_distance: 7.71
full_steps_per_rotation: 200
microsteps: 16
nozzle_diameter: 0.400
filament_diameter: 1.750
heater_pin: PC3
sensor_type: EPCOS 100K B57560G104F
sensor_pin: PC1
control = pid
pid_kp = 18.711
pid_ki = 0.725
pid_kd = 120.689
min_temp: 0
max_temp: 275
pressure_advance: 0.15
이제 설정은 끝났습니다.


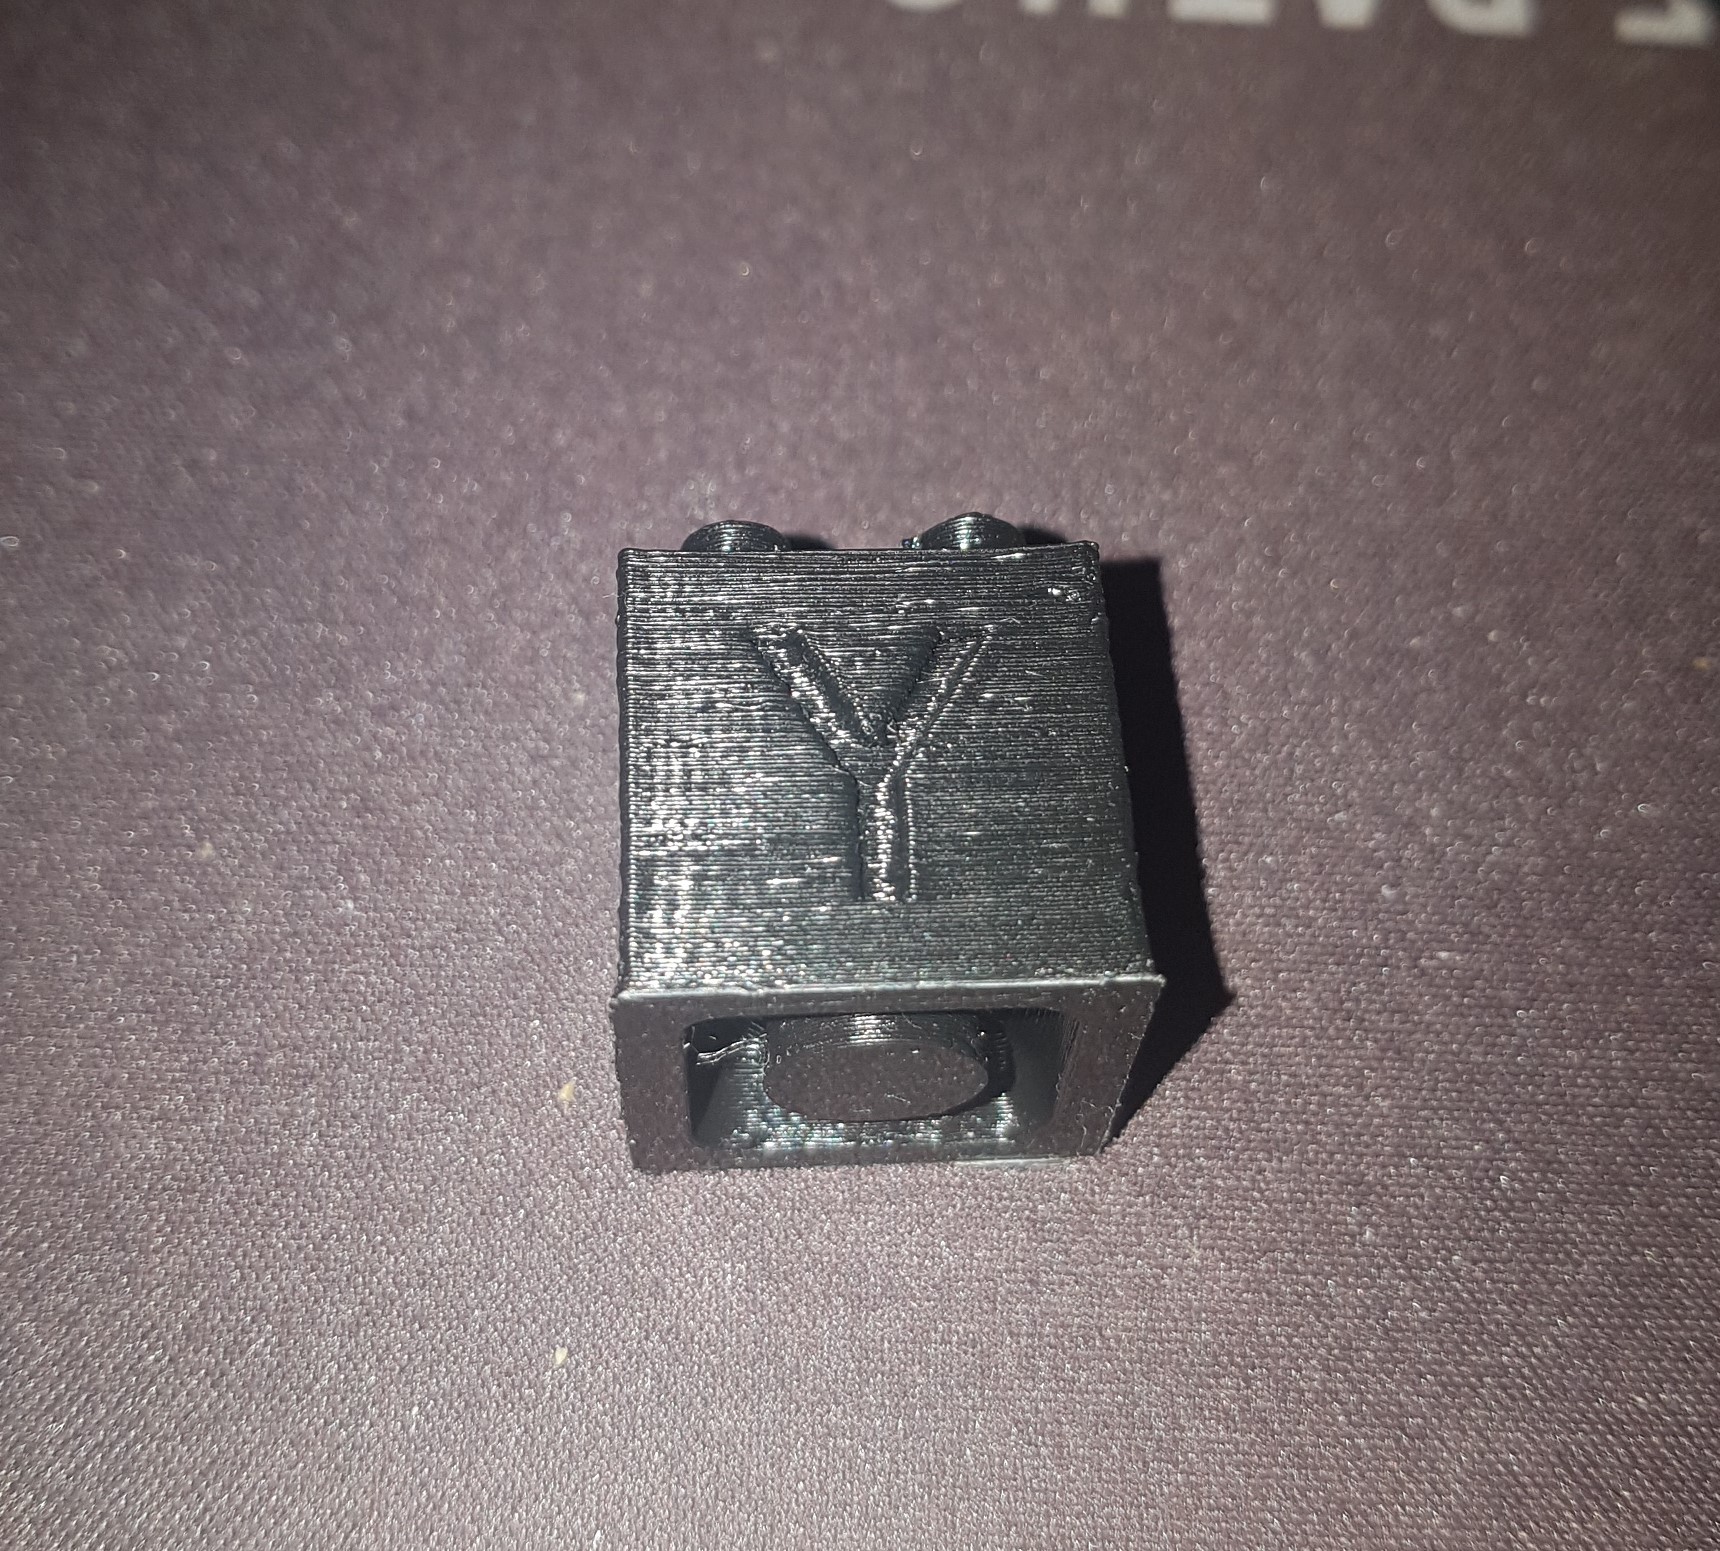
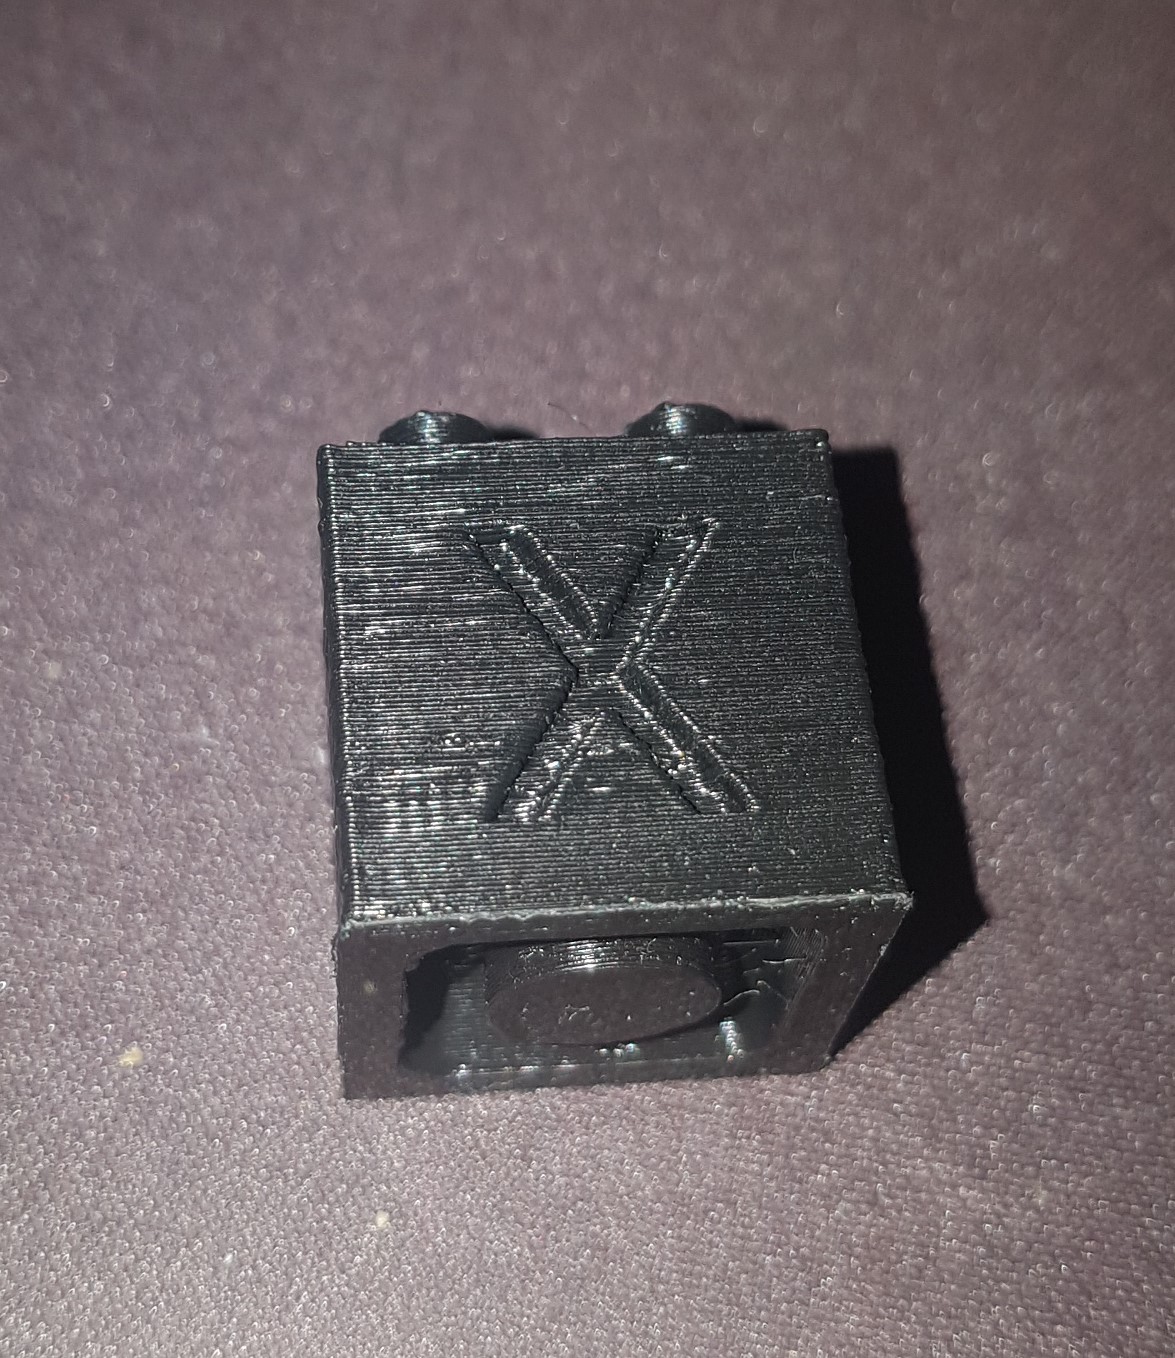
캘리브레이션 큐브도 뽑아봤는데 그럭저럭 잘 나왔네요.
테스트 결과 수정해야 할 점은 다음과 같습니다.
1. 리트렉션 캘리브레이션 다시 하기
2. 레벨링 조절
3. 리트렉션 시 잉크젯 복합기 소리 정도의 굉음이 나는 문제 개선
P.S. 오비터용으로 만들었던 헤드에서 오비터 마운트 부분만 떼고 하니 딱 맞아서 좋네요 ㅎㅎ
'3d 프린터 > DIY' 카테고리의 다른 글
| [생활프린팅] 손목 패드 프린팅 (0) | 2023.06.06 |
|---|---|
| g304 수리 (0) | 2022.03.25 |
| kp3s용 오비터 마운트 모델링 (0) | 2021.04.17 |
| 킹룬 챔버 DIY (0) | 2021.04.11 |